Make n8n workflows tactile on your desk
Build a low-cost, ESP32-powered terminal that gives n8n automations a physical interface with buttons, sound, sensors, and a color screen. The device triggers AI-assisted workflows that read Google Sheets, prioritize deliveries, and send results back to the display—complete with a tap-to-generate QR code. It’s a compact bridge between cloud intelligence and the warehouse bench, designed for quick setup and plenty of room to expand.
Points clés
- Project: “N8n terminal device” by Roni Bandini, published August 13, 2025 under the MIT license; difficulty marked as Intermediate with an estimated 3-hour build
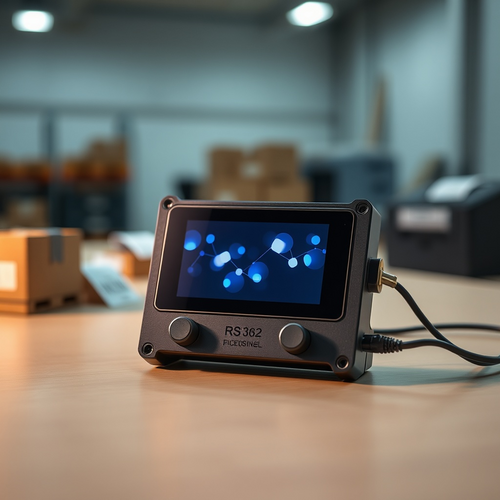
- Core hardware: DFRobot Unihiker K10 (ESP32-based) plus 2 DFRobot Gravity digital push buttons and a microSD card
- K10 features: 240×320 screen, onboard buttons, RGB LED, microSD slot, camera, speaker, microphone, light and temperature sensors, accelerometer, and Gravity connectors
- Programming requirement: Arduino IDE v1.8.19 (or earlier) with the Unihiker K10 board URL added to Additional Board URLs
- n8n setup: create an account at n8n.io (open source, $5 credits available), or self-host/host via Railway; configure Google Sheets (free API) and Google Gemini (free tier)
- Workflow logic: device triggers an n8n webhook; an AI agent (Gemini Flash 2.5 or another LLM) selects the next shipment based on Sent=false, oldest date, and “Notes” priority; results are sent back to the screen
- On-device actions: first button fetches shipment details; second button generates a QR code; communication with n8n occurs via JSON fields (idShipping, name, address, notes)
- Known issue: a Unihiker K10 library bug currently prevents clearing the screen after QR display; fix expected in a future update
- Enclosure: 3D-printed case available on Cults; wall-mountable, preserves sensors and speaker; printed on a Bambu Lab A1 Mini and assembled with M3 and 3 mm screws
- Engagement: the Hackster.io project shows 11,171 impressions; the microSD is used to play a startup voice clip
À retenir
Start small: get a K10, two buttons, a microSD, and stick to Arduino IDE 1.8.19 like your life depends on it (because, for now, your upload does). Use the template workflow, wire in Google Sheets and Gemini’s free tiers, and test your webhook before printing the snazzy enclosure. Once it runs, sprinkle in sensors, audio, or camera tricks—just remember the screen bug, or you’ll be “clearing” it with your finger like it’s 1999. And yes, you can keep babysitting spreadsheets by hand—but your thumbs deserve buttons.
Sources